
In this Areopa Academy webinar from September 2019, James Pearson — Product Manager at Clever Dynamics — explains what it means to “build” a Business Central extension using Azure Pipelines. The session covers the terminology behind CI/CD, the practical reasons for adopting a build pipeline, and three progressively more capable pipeline examples demonstrated live in Azure DevOps.
Understanding the Terminology
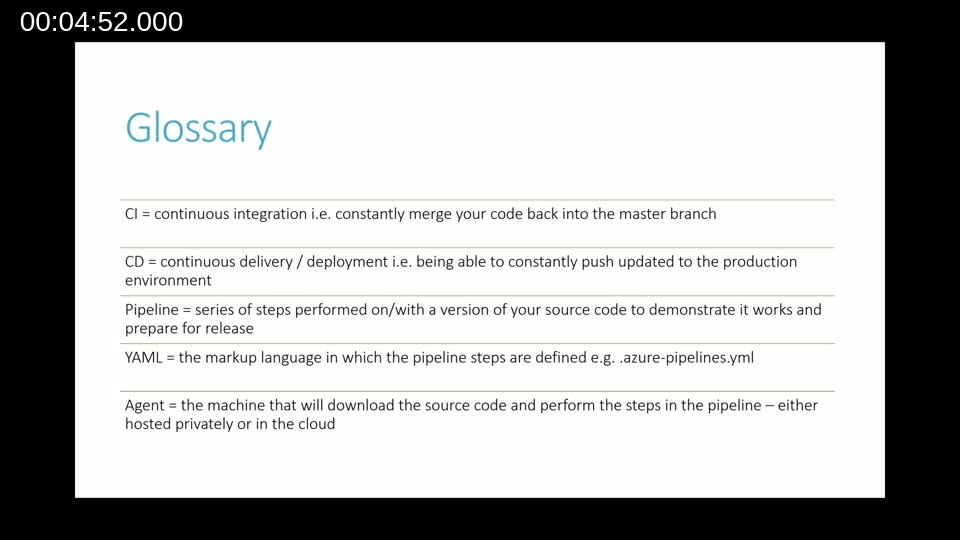
James opened with a glossary to cut through the jargon. Continuous Integration (CI) refers to the practice of merging code back into the master branch as frequently as possible, avoiding long-lived feature branches that become difficult to integrate. Continuous Delivery (CD) means the codebase is always in a state where it could be shipped to a production environment.
A pipeline is the series of steps that prove a given version of code works. Those steps are described in a YAML file — for Azure DevOps, that file is typically called .azure-pipelines.yml. An agent is the machine that downloads the code and executes those steps; it can be hosted by Microsoft or run privately.
Why Bother Building?
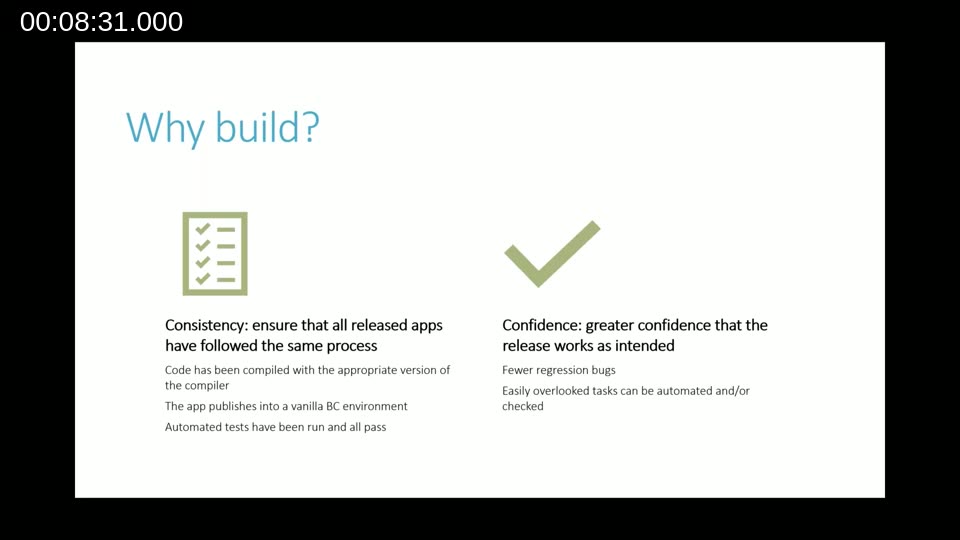
James was direct about the motivation. Customers pay for working software, not for the tools used to produce it. That said, he identified two concrete reasons a build pipeline earns its place.
The first is consistency. Every released version of the app has gone through the same defined steps: compiled with the correct compiler version, published into a clean Business Central Docker container, and tested with automated tests. The “works on my machine” problem disappears.
The second is confidence. Because the pipeline is reproducible, developers and managers can be more certain that the version being released actually works. James also noted that the pipeline naturally grows over time — if a missing permission set or incomplete translation file caused a customer issue once, a check for it can be added to the pipeline so it never slips through again.
The customer frankly doesn’t care how you’ve built the software. They pay you because you produce working software that adds value to their Business Central implementation.
James Pearson
The Toolbox
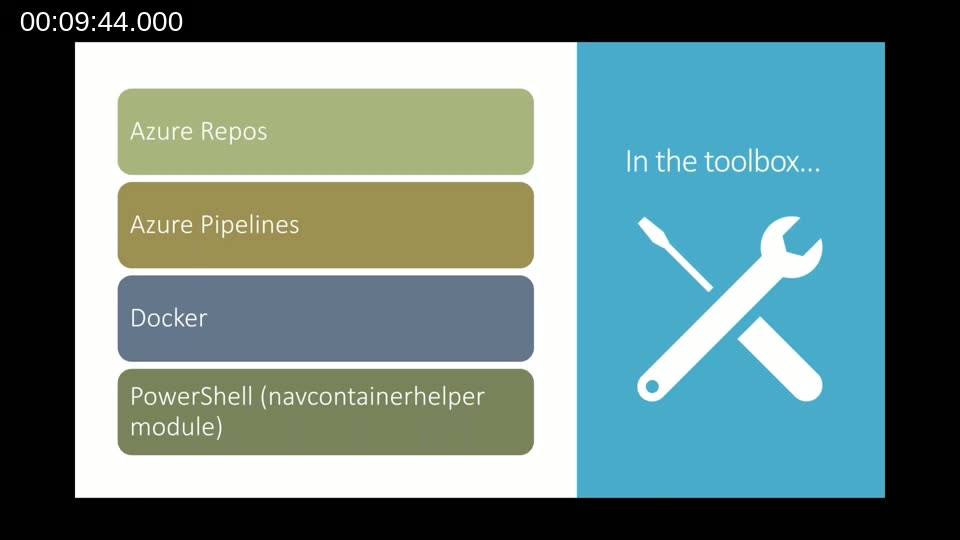
For this session, James used Azure Repos to host the source code and Azure Pipelines to define and run the build. Docker provided a predictable, disposable Business Central environment. The navcontainerhelper PowerShell module handled creating containers, compiling the AL app, and running tests — keeping the YAML file readable.
He noted these are not the only options. Source code could equally live in GitHub or another Git host. The key principle is the same regardless of tooling: download the code, run a set of steps, and produce a verified artifact.
Defining the Steps
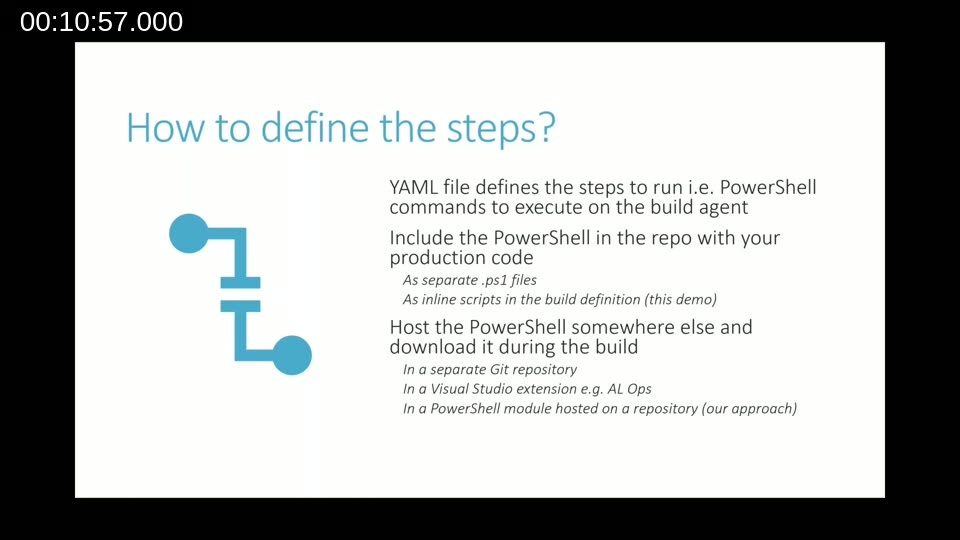
There are several ways to write the PowerShell that the pipeline executes. James demonstrated inline scripts — PowerShell embedded directly inside the YAML file — because it keeps everything visible in one place. Alternatively, scripts can be stored as separate .ps1 files in the repository, or hosted in an external PowerShell module downloaded at build time (the approach Clever Dynamics uses in production).
Pipeline Example 1: Compile and Publish
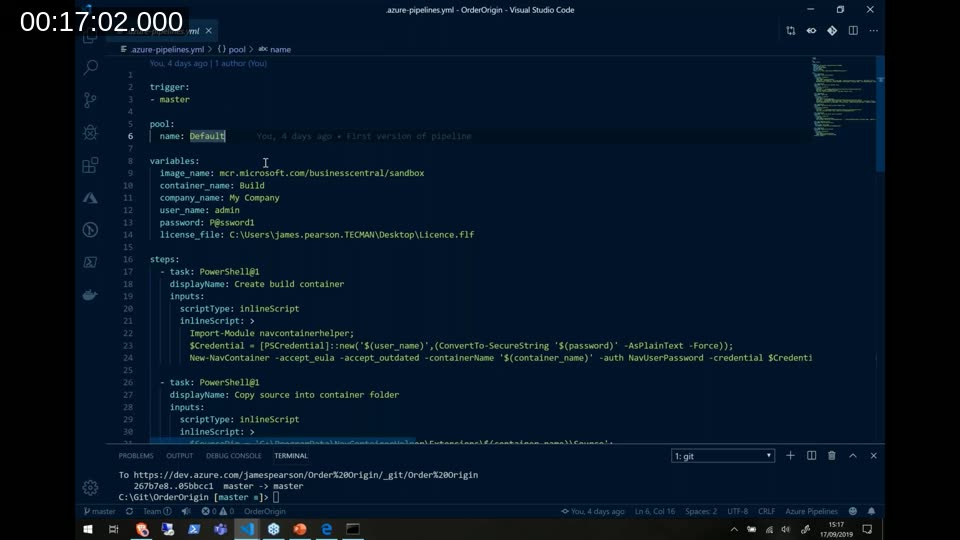
The first pipeline was a minimal baseline. It used three variables at the top of the YAML file — the Docker image name, container name, and company name — and then ran the following steps in sequence:
- Create a Docker container using
New-NavContainerfromnavcontainerhelper - Copy the AL source code into the container’s shared folder
- Compile the app using
Compile-AppInNavContainer - Copy the compiled
.appfile to the artifact staging directory - Publish and install the app into the container
- Publish the
.appfile as a build artifact - Remove the container — this step runs with
condition: always()so it cleans up even if an earlier step fails
James explained that each PowerShell task starts a fresh session, which is why Import-Module navcontainerhelper appears at the beginning of each step rather than once at the top.
The
always()condition on the final step ensures the Docker container is removed even if the build fails halfway through — avoiding orphaned containers on the build agent.
Pipeline Example 2: Running Automated Tests
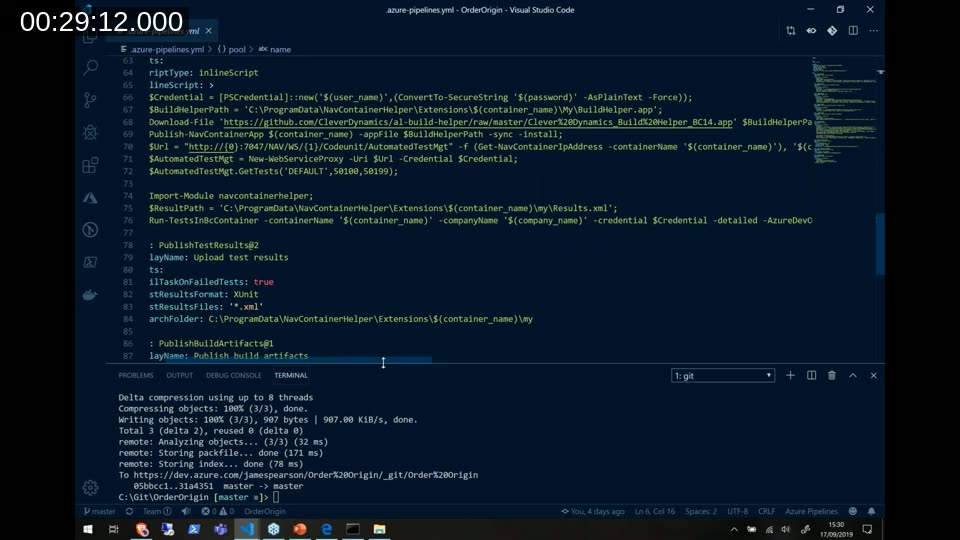
The second example extended the first by adding two more steps: one to run the automated tests, and one to publish the results.
To populate the default test suite, James used a separate AL extension — a “build helper” app published by Clever Dynamics on GitHub. The pipeline downloads this app, installs it, calls its exposed web service to register the test codeunits, then runs the tests using Run-TestsInBcContainer.
The test results are written as an xUnit XML file, which Azure DevOps understands natively. A PublishTestResults task picks up that file and surfaces the results alongside the build summary — including which tests failed and the full call stack at the point of failure.
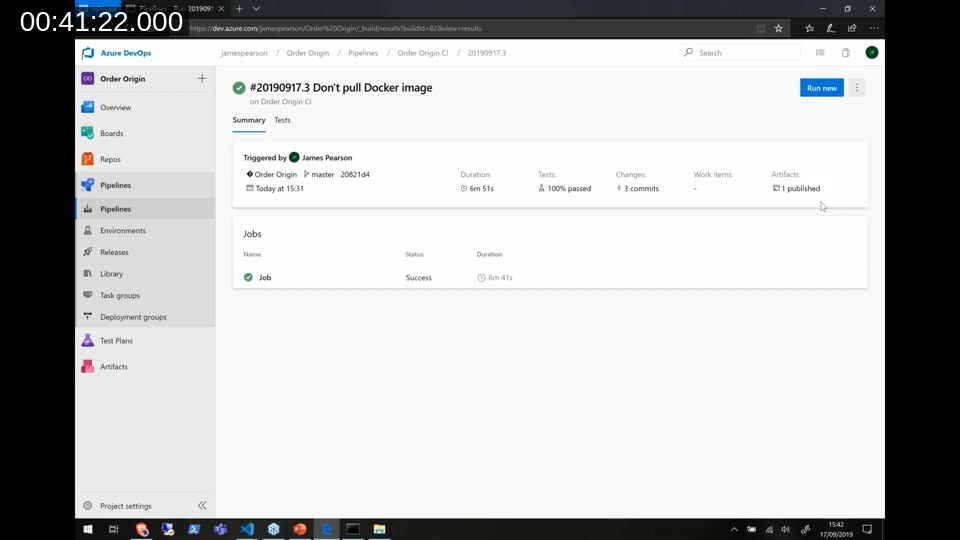
With all steps passing, the Azure DevOps build summary showed 100% of tests passed, one artifact published, and a full log of every step from container creation through to container removal.
Pipeline Example 3: Multi-Stage Pipelines and Templates
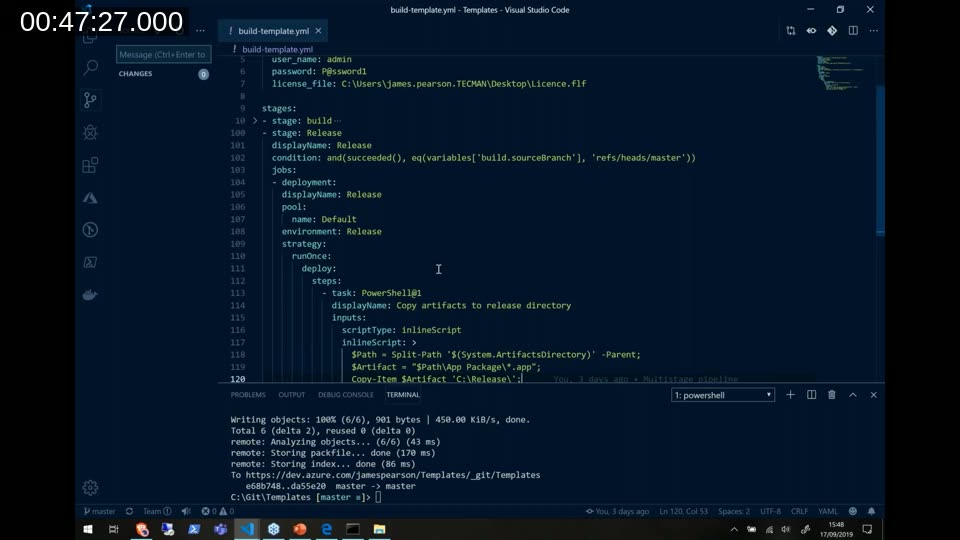
The third example introduced two concepts: pipeline templates and multi-stage pipelines.
A template moves the pipeline definition into a separate repository. The application’s own YAML file becomes very short — just a trigger and a reference to the template, passing in any parameter values that differ per project (such as the Docker image name or license file path). Any number of repositories can then share the same build logic by referencing the same template.
Multi-stage pipelines split the run into distinct stages, such as Build and Release. A condition on the Release stage — eq(variables['Build.SourceBranch'], 'refs/heads/master') — means it only runs when code is pushed to the master branch. Feature branches and bug fix branches still trigger the Build stage and run all tests, but the Release step is skipped until the work is merged.
In the demo, the Release stage simply copied the compiled .app file into a local folder. James noted that in practice this step could push to an FTP server, upload to SharePoint, or call any other API — whatever “releasing” means in a given team’s context.
You can add approval checks to an environment in Azure DevOps so a specific person must manually approve before the Release stage runs — giving teams a human gate between build and deployment.
Ideas for Extending the Pipeline
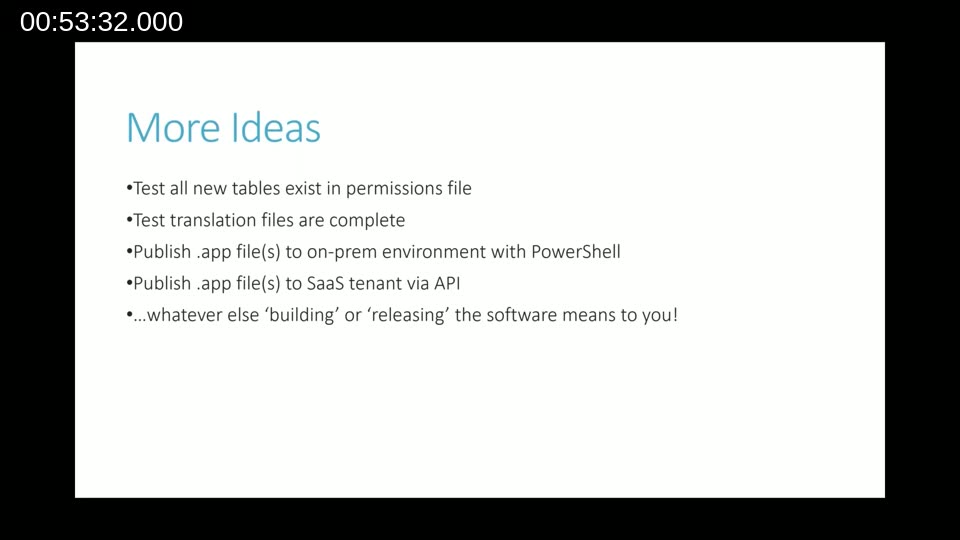
James closed with a list of additional checks that Clever Dynamics has added over time and that other teams might find useful:
- Verify that all new tables added by the app exist somewhere in the permissions file
- Check that translation files are complete — no captions added to the English file but missing from German, French, or Dutch
- Publish the
.appfile directly to an on-premises Business Central environment via PowerShell - Publish the
.appfile to a SaaS tenant via the administration API
Anything that can be verified with PowerShell can be added to the pipeline. The pipeline grows to reflect what “working software” means to each team.
On a question from the audience about AppSource, James confirmed that at the time of recording there was no public API for submitting or updating an offer in Partner Center, so that step could not be automated end to end.
Branch Strategy and Pull Requests
In response to a question about branch policies, James described the Clever Dynamics approach. Work is organised around a versioned release branch, with small short-lived branches for individual bugs or features that merge back into the release branch quickly. Once all planned items for a release are complete, the release branch merges to master.
Formal branch protection policies were not enforced at the time, but James noted that pull requests were used for almost every change and called them “probably the single most useful change we’ve made to our development process.”
This post was prepared with the assistance of AI based on the recording and transcript of the Areopa Academy webinar from September 17, 2019. The content reflects the state of Azure DevOps and Business Central tooling at that time.